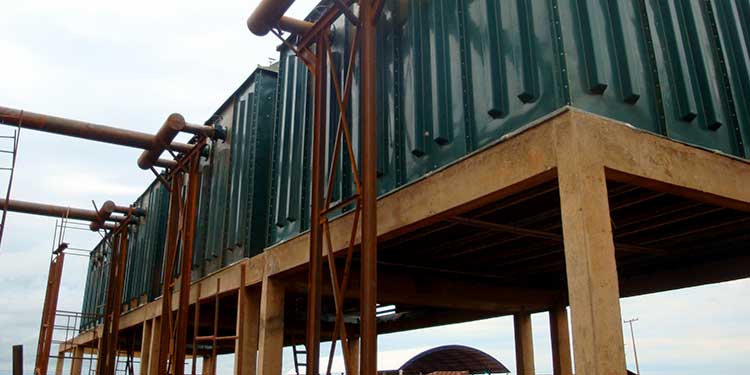
How to assemble a water cooling tower
Caravela – Thermotank in its five decades of existence has developed enough knowledge to have the best cost-benefit when assembling its cooling towers. However, large companies sometimes prefer to do the assembly themselves for different reasons. In these cases, Caravela – Thermotank strongly recommends the use of an assembly supervisor indicated by us to ensure that the necessary adjustments are carried out properly, thus preserving the equipment.
Towers are complex equipment of different types and constructions, such as:
- Natural or forced ventilation;
- Fan inflating or sucking in;
- Round or rectangular cells;
- In series or block;
- Counter-current or cross-current.
These few details already indicate the need for the assembly to be done by experienced professionals. In this way, the customer can choose between two forms of contracting the assembly:
1 - Complete where a supervisor and two assemblers will be sent; or
2 - Supervised where only the supervisor will act indicating the work to be done by the client.
Once the commercial combination for assembly is made, Caravela – Thermotank will send, together with the equipment parts, all the necessary documentation for assembly. See below for the four steps required for assembly.
First step
Place all the necessary Epi's;
With the packing list in hand, check if you have all the pieces;
Observe if the material arrived with damages;
Arrange the parts in sequence for assembly;
If the cooling tower has a concrete pool, check that the dimensions are correct.
Second step
The second step is to unpack all the material and start assembling the walls. Every wall has a sequence that must be followed. The walls are fixed with cadmium screws or 1/4” stainless steel screws. Place them on the floor and start screwing in the indicated holes. If there are 16 walls and the cooling tower is square, screw 4 walls in sequence. And finally, lift the walls with a truck that will be made available by the customer or manufacturer, depending on the combination.
Then, place the hardware for the fillers and drift eliminators, observing the drawings to avoid errors. Remember that the assembly of the cooling tower must always be carried out in a flat area.
Having screwed the entire set of hardware, we will proceed with the placement of the fill, which must be done carefully to preserve their integrity. Fill placed, we will install the water distribution that is composed of two items, the main tube that receives the water and must be fixed first, and then the fixation of the secondary tubes that make the water division. The secondary tubes must be welded to the main tube and finally, the 1” spray nozzles are fixed, which are threaded into the secondary tubes of the water cooling tower. Finally, we will fill the cooling tower with the drift eliminators, getting the body ready.
Third step
Now let's move on to the diffuser that comes disassembled into four parts. It must be fixed with screws according to the walls of the cooling tower. Remember that the cooling towers come with a system for fixing the straps or ropes. The diffuser must be screwed onto the tower body according to the drawings.
Fourth step
In this step, we install the axial propeller on the cooling tower motor assembly and lift it to the diffuser, which must be screwed. It must be observed that the tip of the axial propeller is not touching the diffuser and that it can work with play.
If the contractor purchased the equipment without a ladder and platform, the assembly is completed. However, if you have bought it, we will assemble it in the same place as the tower. The marine ladder must be screwed with its respective complements, guardrail, and platform, and be hoisted up to the cooling tower.
Finally, the person in charge must go to the place and analyze if he agrees, check all the items, analyze the drawings and commercial proposal. If everything is correct, sign our assembly report, informing that everything went as planned, and fill out our quality and satisfaction survey.


